Personalized Pillow Cases to Commemorate Your Child's Lost Teeth
August 30, 2024.
min read
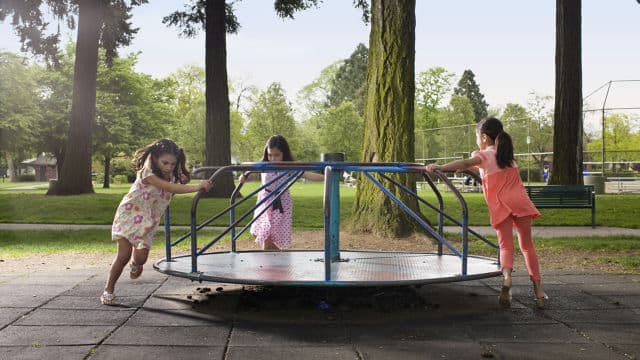
The first visit from the tooth fairy is a magical experience that your kids will remember for years to come. Maybe you’ve thought about commemorating this moment with something like a personalized pillow case, but you’re not particularly crafty or you don’t know where to start. If so, don’t worry – we’ve got you covered! You can whip up one of these personalized pillow cases for your child in no time, and you’ve probably got most of the supplies at home already. Gather your supplies and let’s get started!
Oral Care Center articles are reviewed by an oral health medical professional. This information is for educational purposes only. This content is not intended to be a substitute for professional medical advice, diagnosis or treatment. Always seek the advice of your dentist, physician or other qualified healthcare provider.
ORAL HEALTH QUIZ
Take our Oral Health assessment to get the most from your oral care routine
ORAL HEALTH QUIZ
Take our Oral Health assessment to get the most from your oral care routine
Kids oral care
Tiny TeethElevate your child's oral care routine with expert tips tailored for tiny teeth. Get essential tips to ensure your child's dental health from Colgate.

Kids oral care
Two Teeth-Shaped Treat Recipes For Fun and EducationJoin the fun of baking teeth cookies with your family, a delightful activity that highlights the importance of dental hygiene tools and techniques.
Kids oral care
How to Smile for School Pictures: Give Them the Perfect SmileOne of the most important elements in taking good school pictures has to be the smile. Children will feel more comfortable… Read more at Colgate.com
Kids oral care
Surprising Oral Health Facts About ChildrenAs a parent, you do your best to educate yourself on the issues facing your kids. It's hard to keep up, but oral health facts can help you plan ahead.

My First® Toothbrush from Colgate® is designed for children age 2 and younger, with extra soft bristles for a gentle and effective clean. Try it today!

The Colgate Kids Battery Powered Minecraft Toothbrush is a kids battery toothbrush that provides fun toothbrushing to keep children’s teeth clean and sweep away plaque.
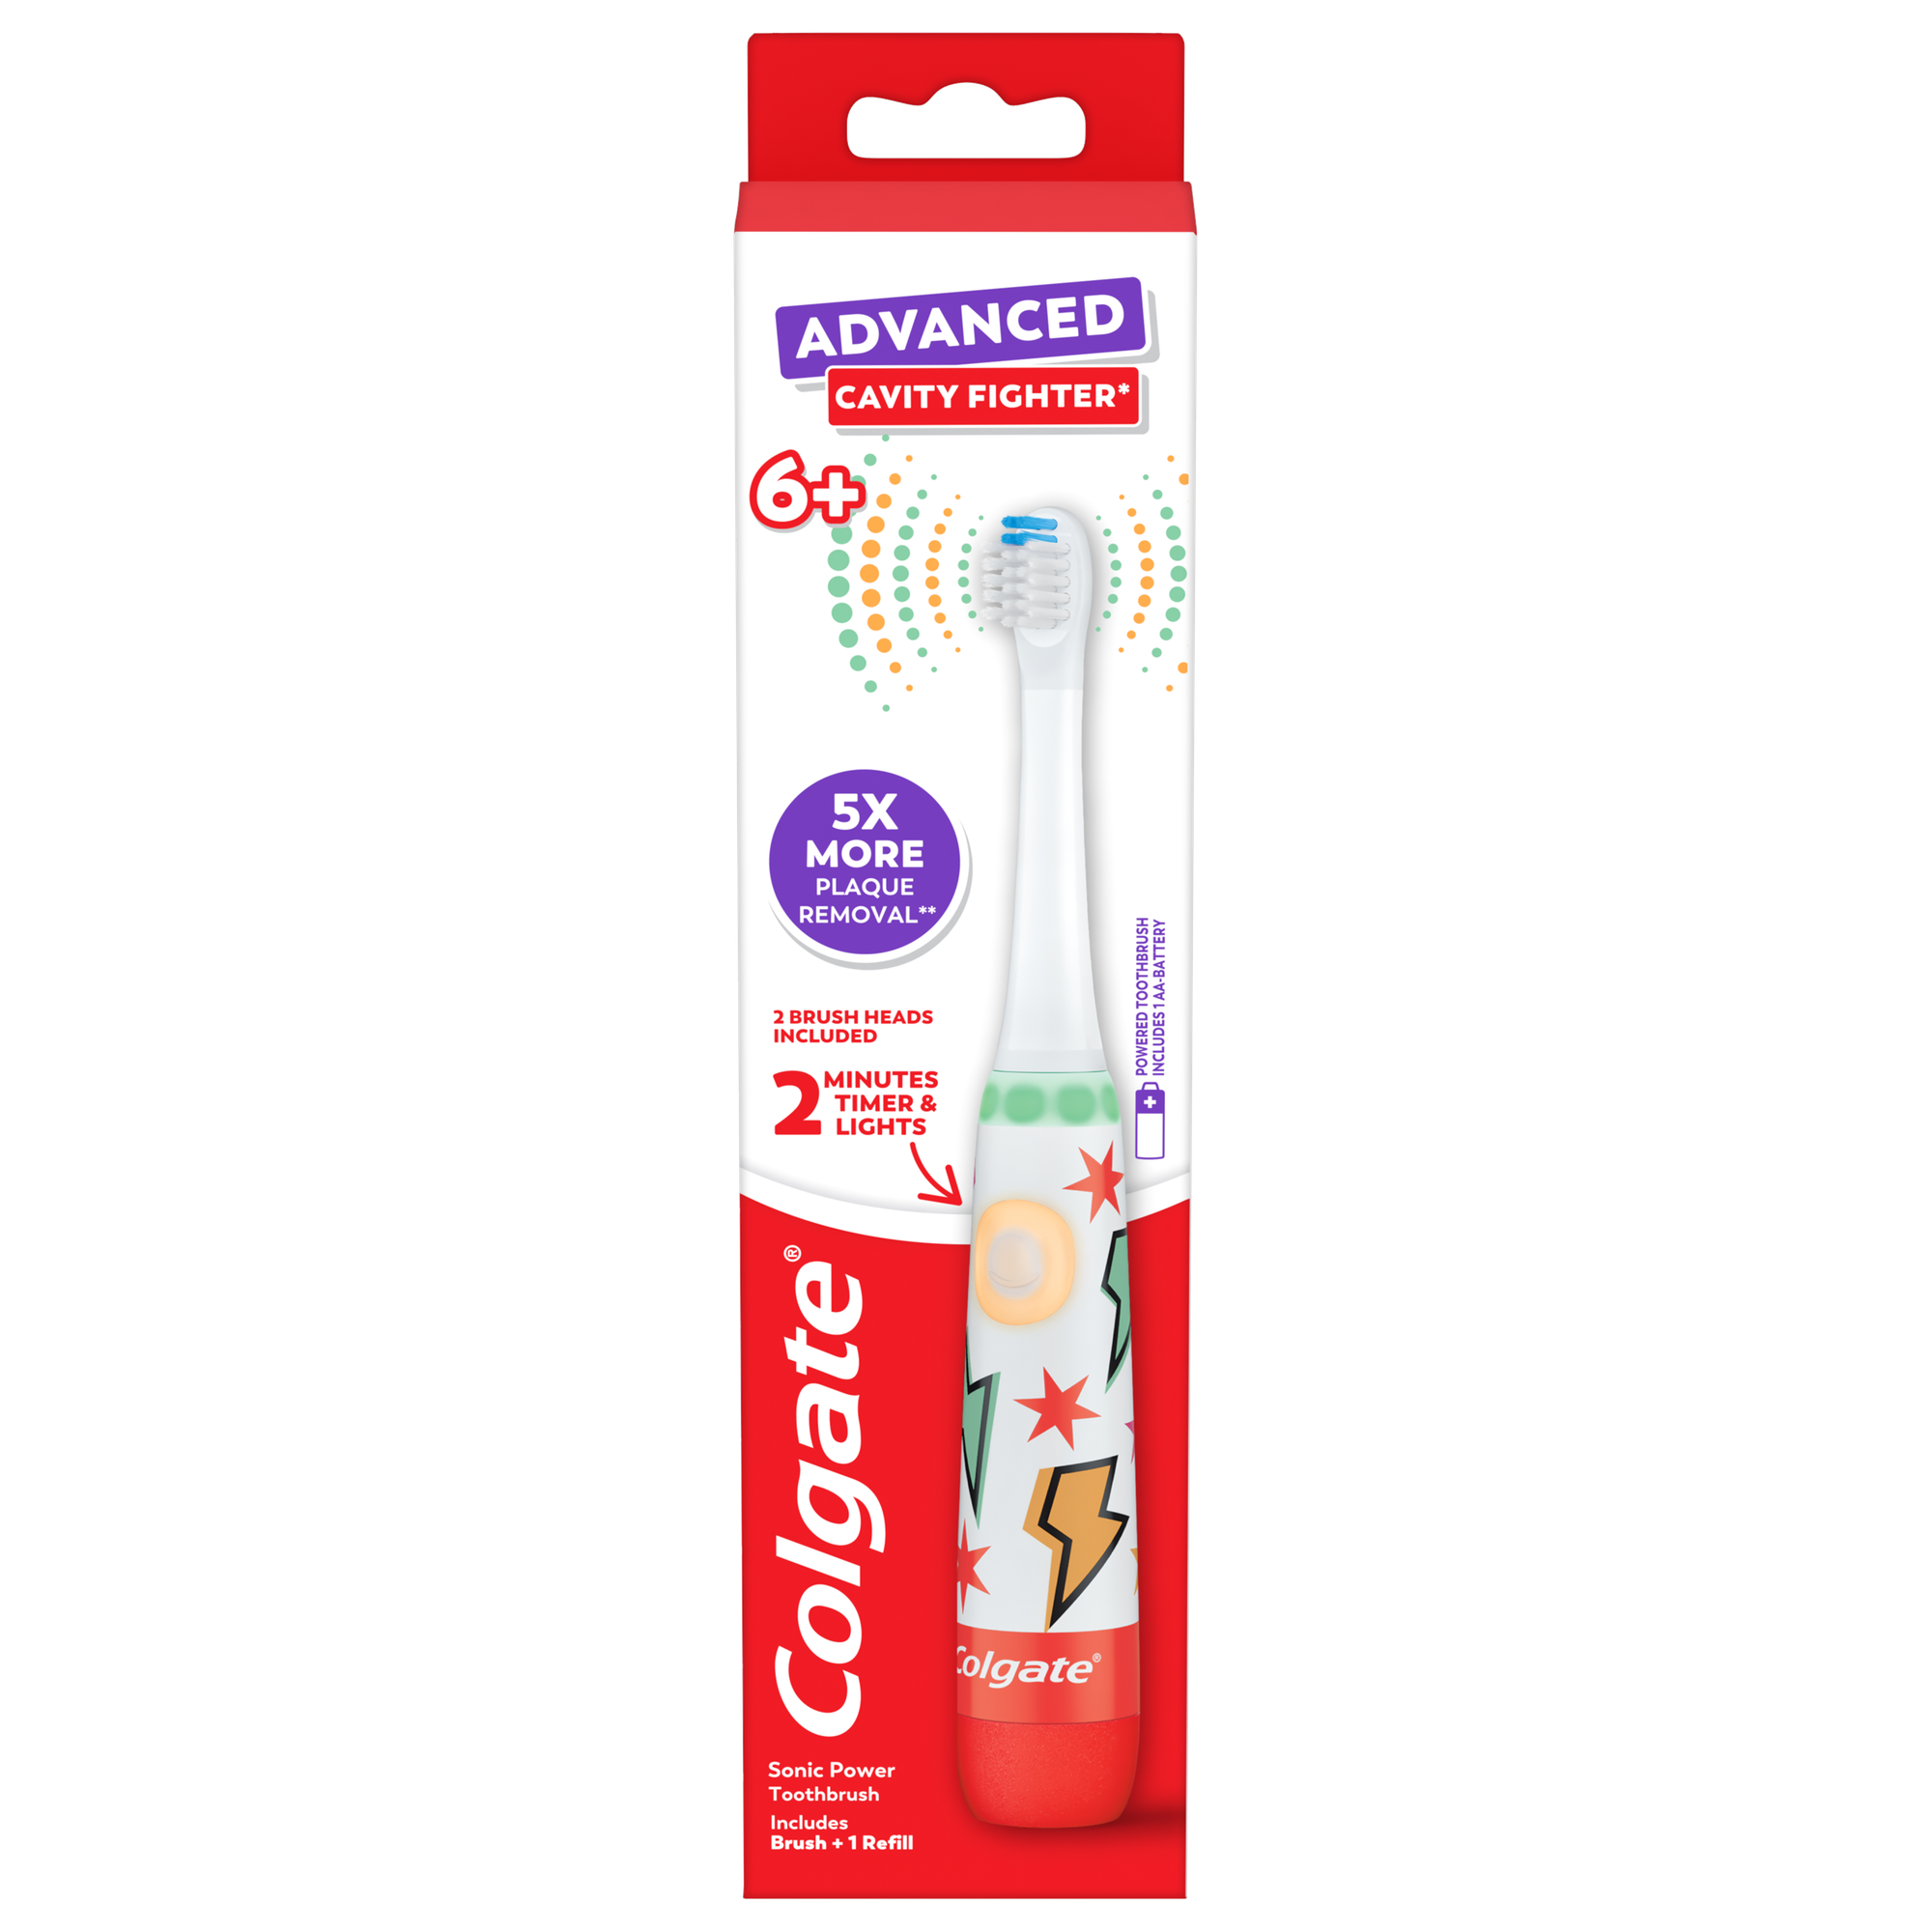
The Colgate Advanced Cavity Fighter* Kids Battery Toothbrush is a fun battery powered kids electric toothbrush designed for kids ages 6 and up. It removes 5x more plaque along the gum line vs. a manual toothbrush.
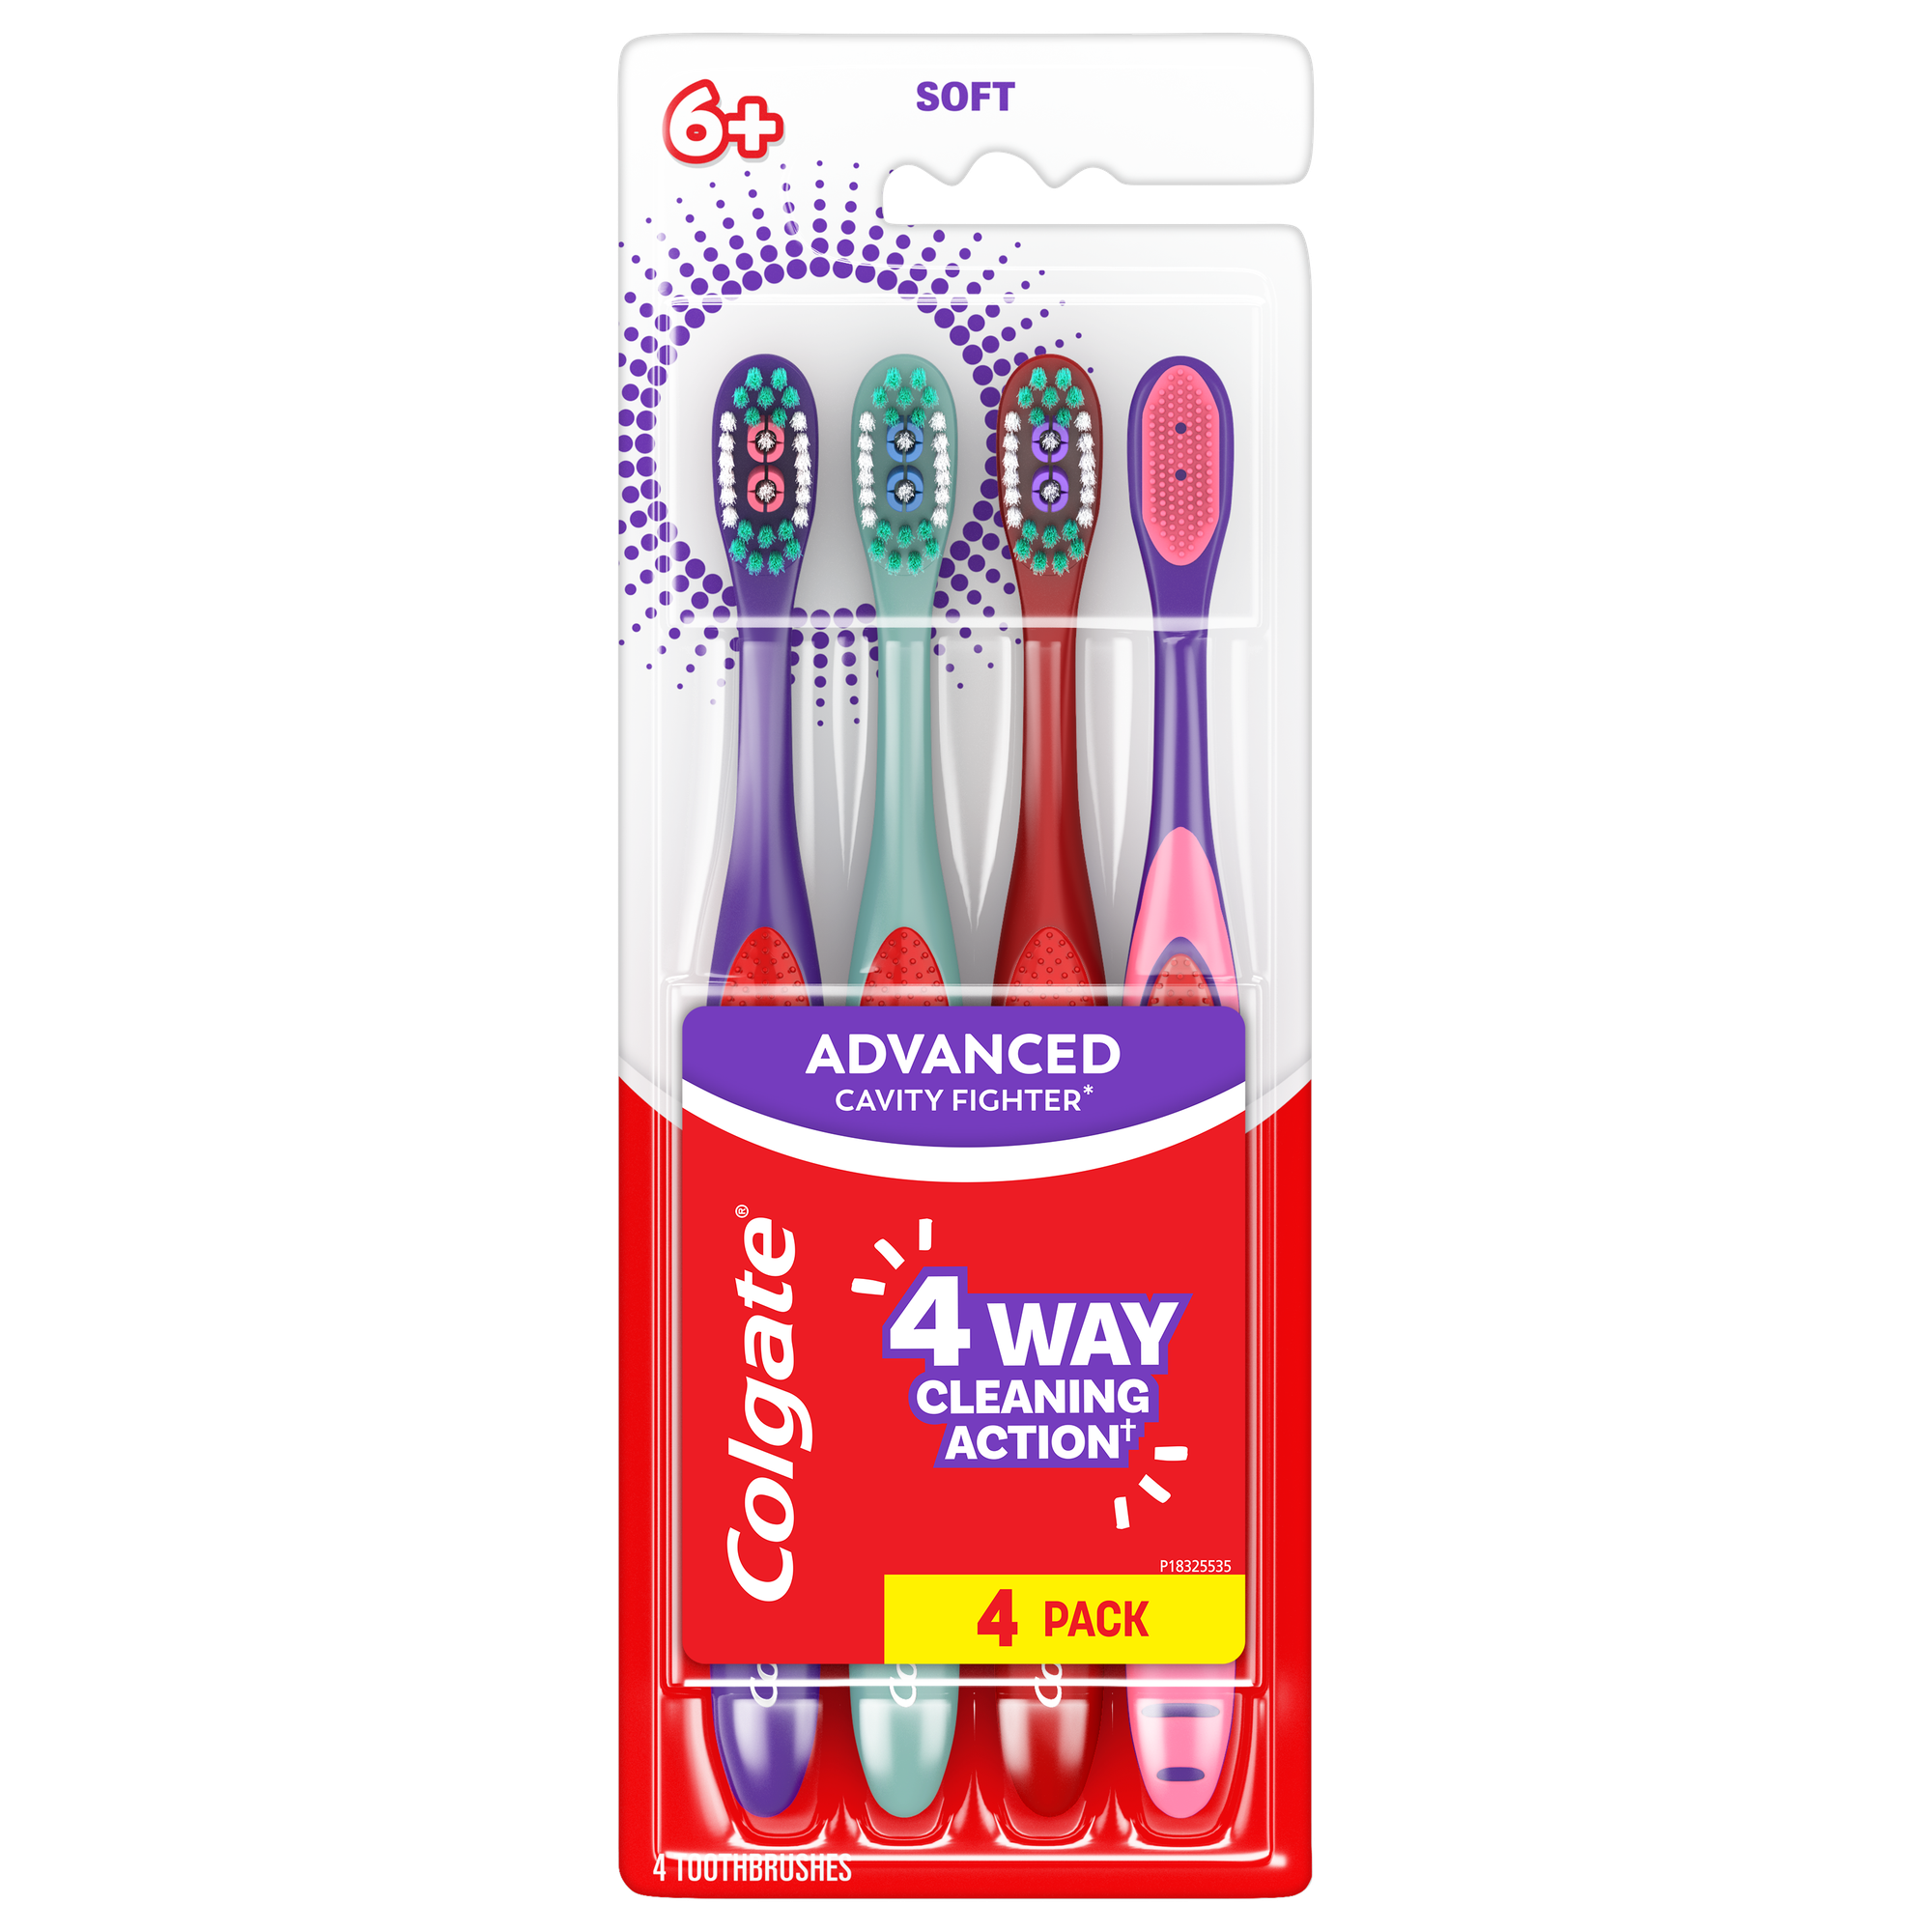
The Colgate Kids Toothbrushes with Extra Soft Bristles are the perfect kids toothbrushes to encourage good oral habits early on!
